Thread Posts
Learn how to create and schedule multi-post threads in Chronosky.
Overview
Thread posts allow you to post multiple posts in sequence. Useful for splitting long content into multiple posts or telling stories in stages.
Thread Post Features
- 2-5 Posts: Schedule up to 5 posts in a single thread
- Automatic Order Management: Post order is automatically managed
- Bulk Operations: Create and delete entire threads at once
- Parent-Child Relationships: Reply relationships between posts are automatically set
INFO
What is a Thread? A thread is multiple posts connected in reply form. Like Twitter (X)'s thread feature, you can split long content across multiple posts.
Creating Thread Posts
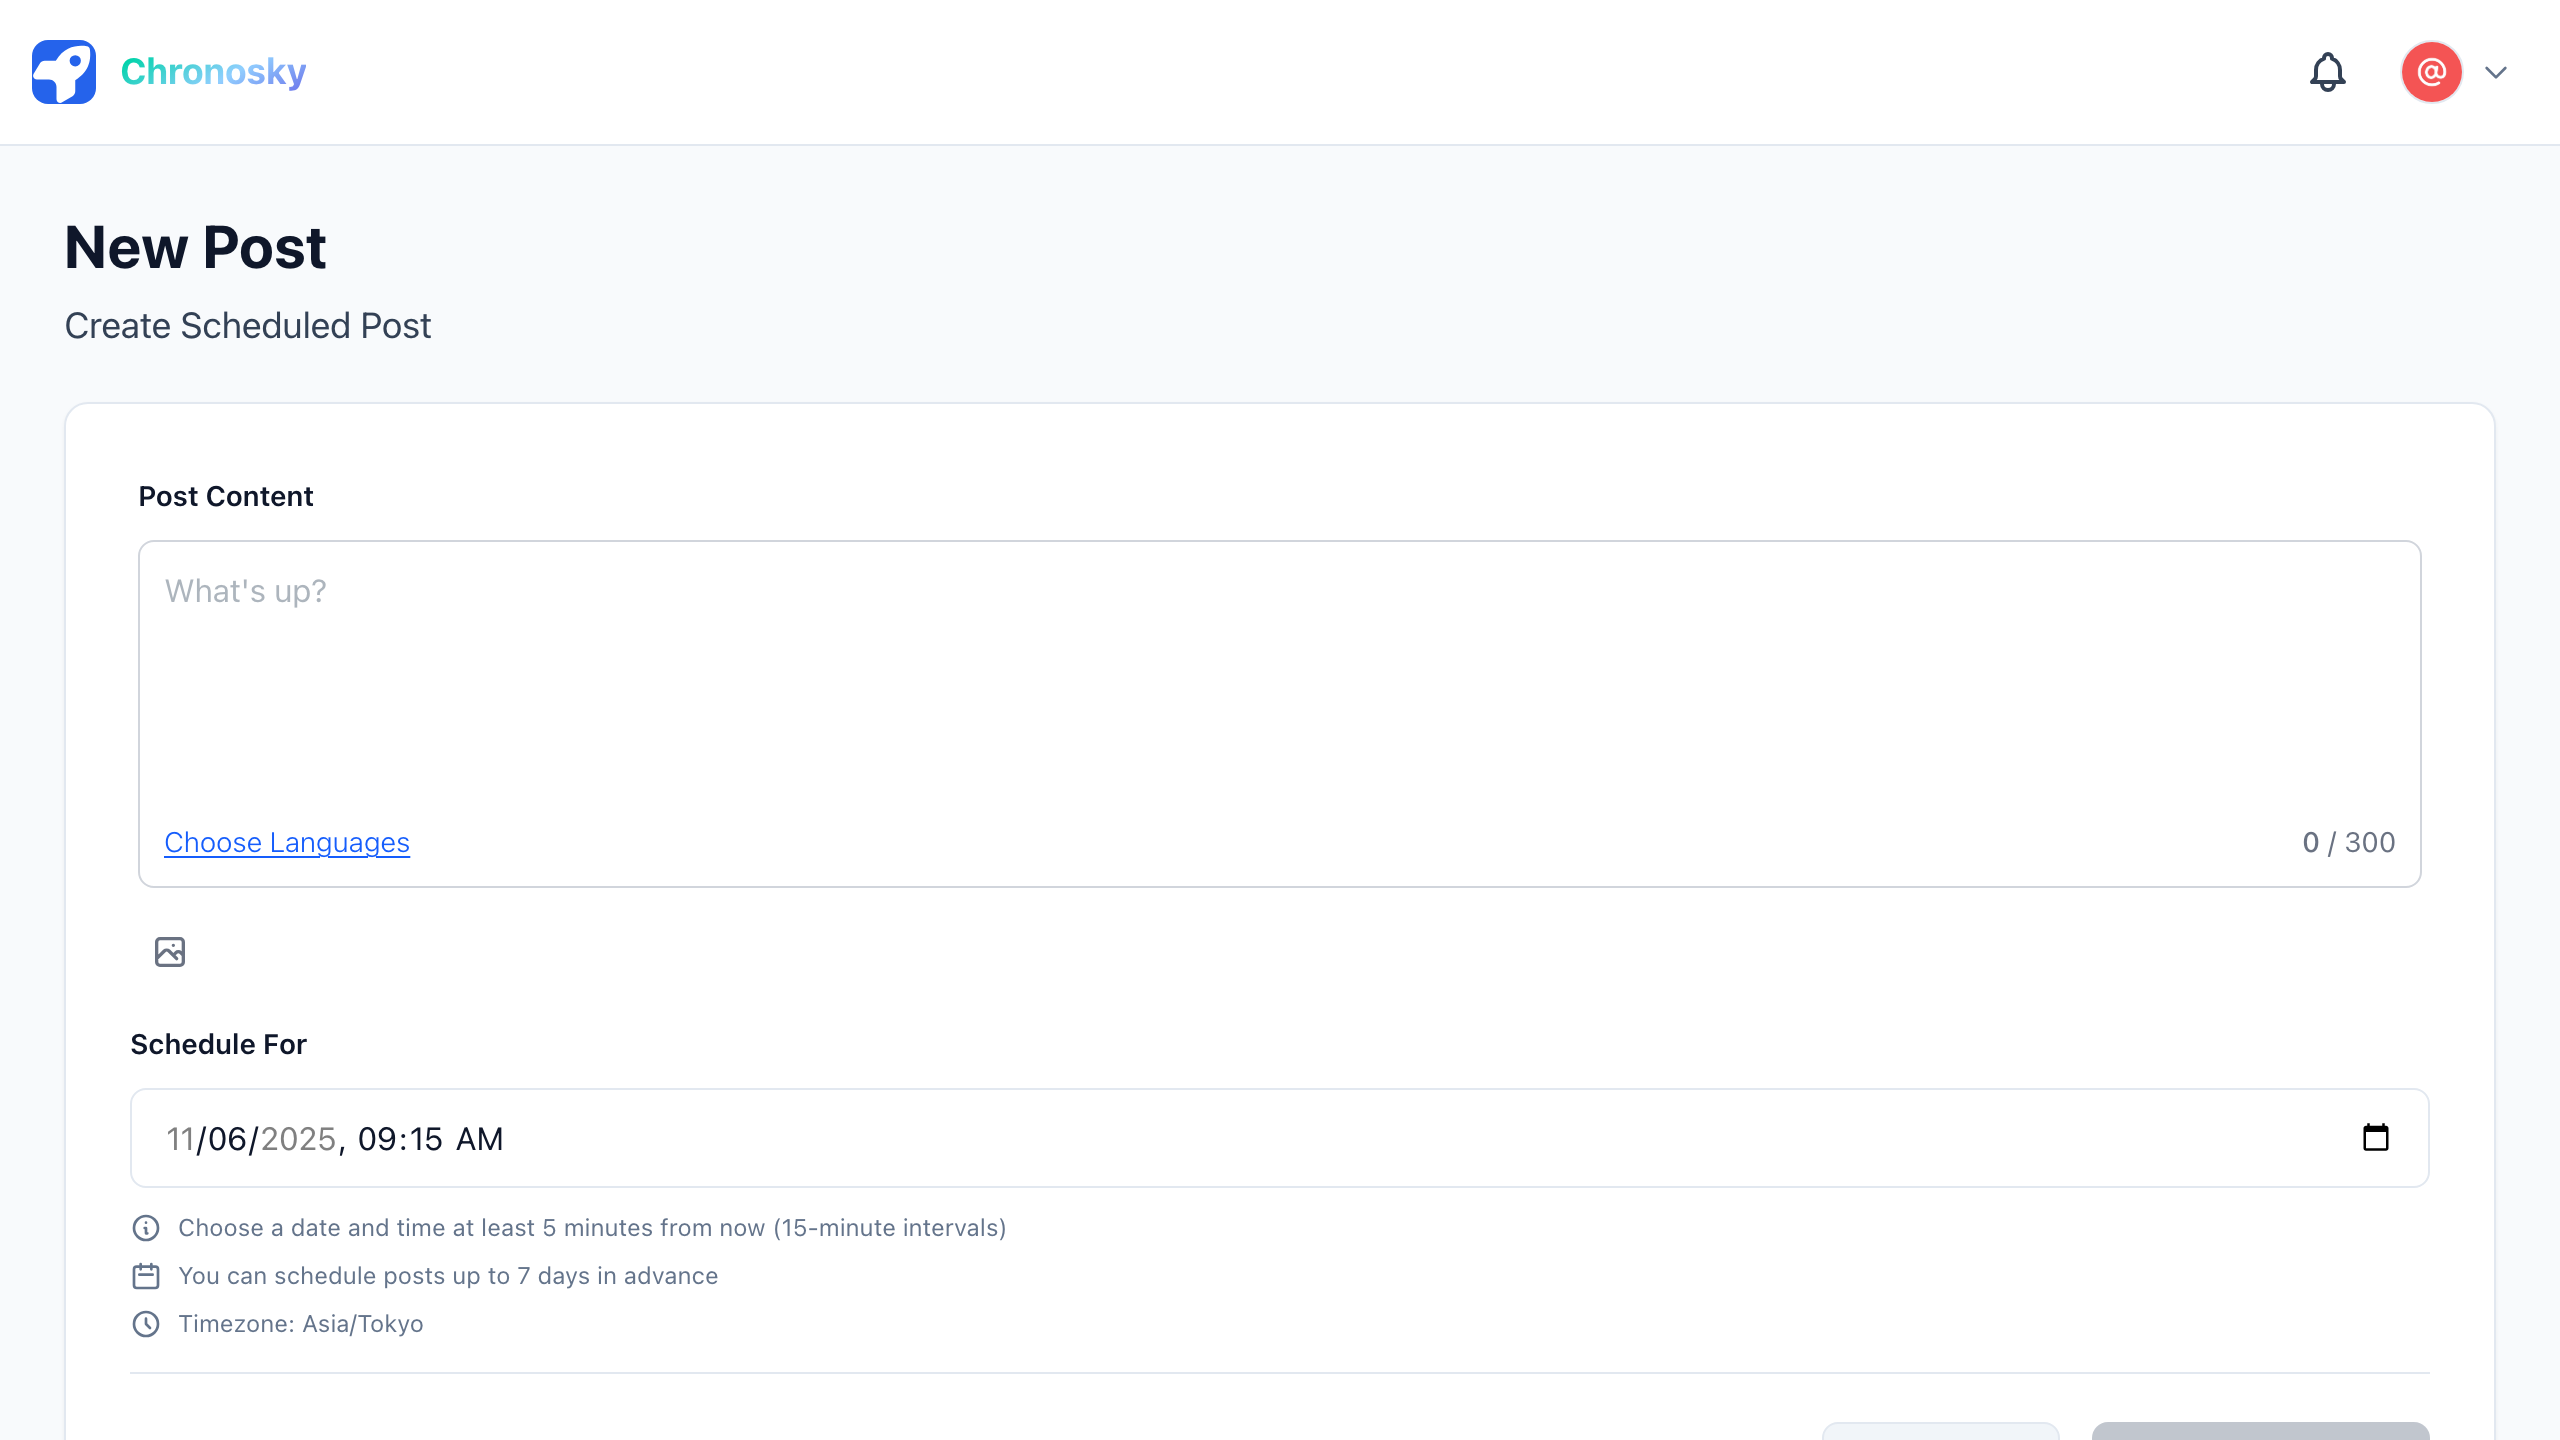
Step 1: Access New Post Form
Click the "New Post" button from the dashboard.
TIP
The "New Post" button is displayed in the header on all pages.
Step 2: Enable Thread Mode
Enable the "Thread Post" option in the post creation form.
- Click the "Thread Post" toggle at the top of the form
- When thread mode is enabled, multiple post input fields appear
Step 3: Enter Post Content
Enter content for each post.
Post Field Elements:
- Post Number - Order number for each post (1, 2, 3...)
- Text Area - Input field for post content (up to 300 characters)
- Character Counter - Displays remaining characters (
X / 300) - Delete Button - Delete unnecessary posts
Thread Example:
Post 1:
Here are some useful tips for scheduling on Bluesky! 🦋
Let's start with the basics. (1/3)
Post 2:
Scheduled posting lets you prepare content in advance.
• Use time effectively
• Maintain posting consistency
• Plan information sharing
These are the main benefits. (2/3)
Post 3:
With Chronosky, you can easily schedule thread posts too!
Give it a try ✨ (3/3)
#Bluesky #ScheduledPosting
INFO
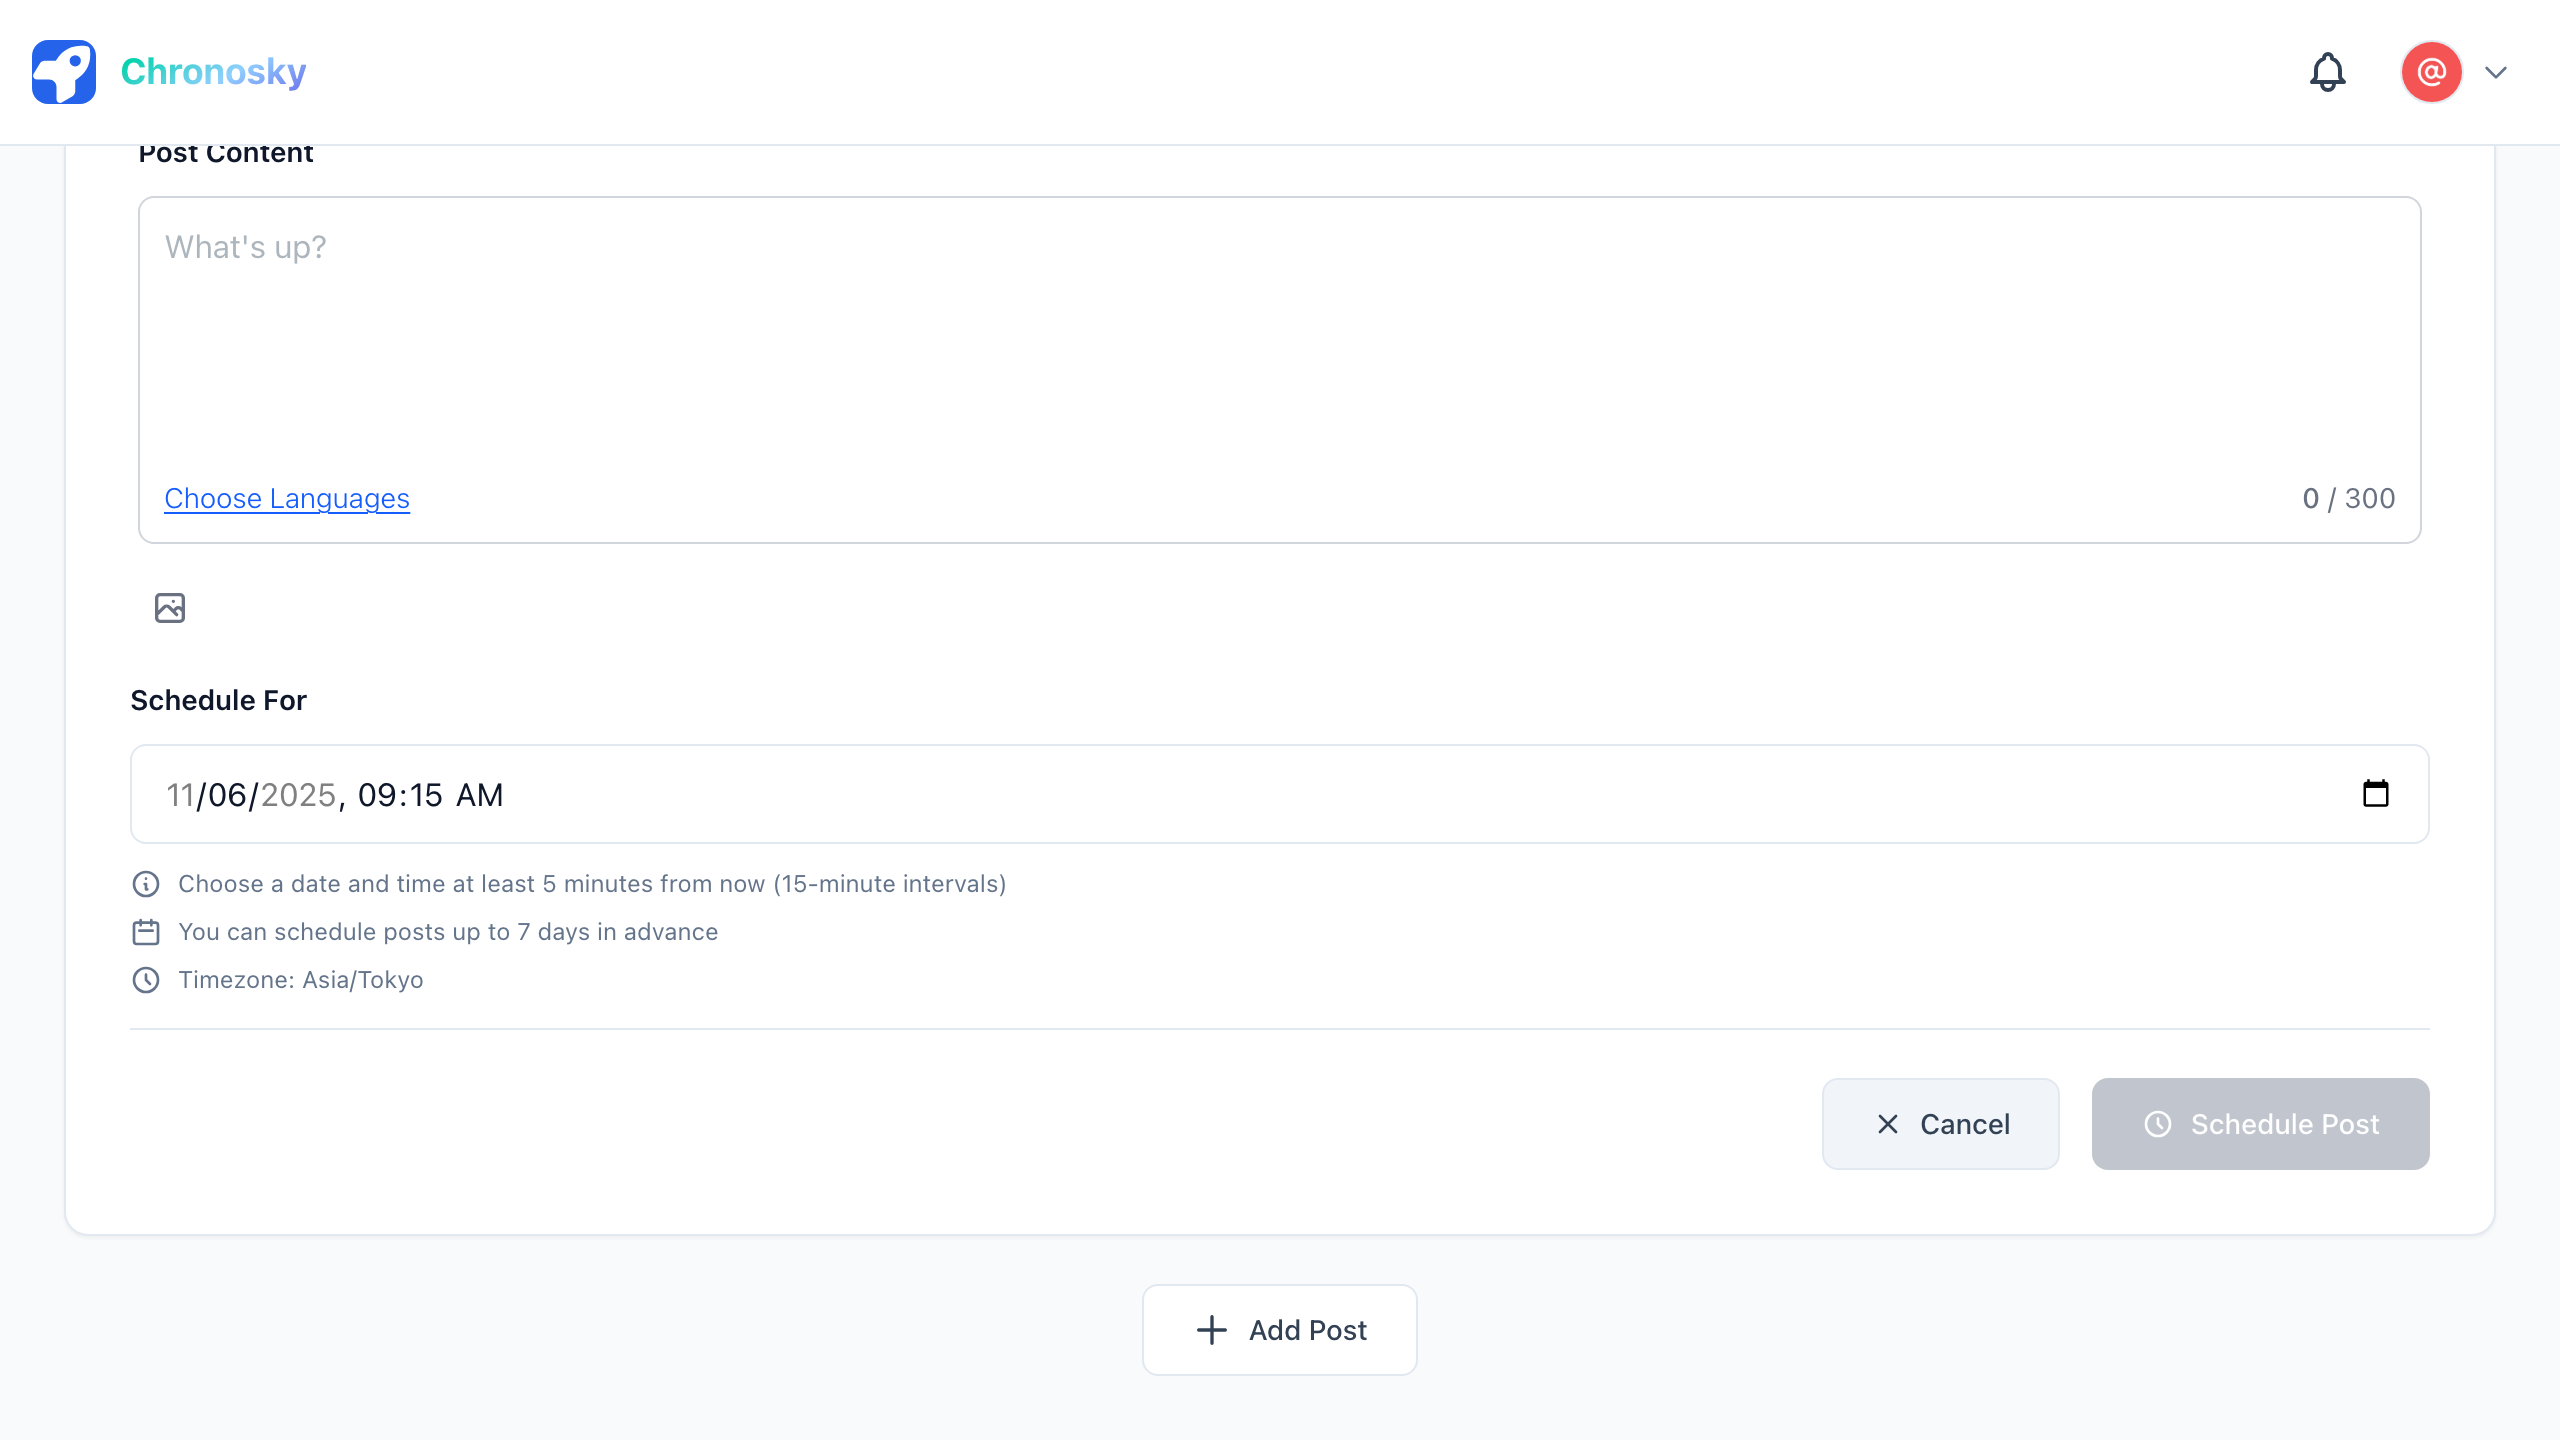
Adding and Deleting Posts
- Add: Click the "+ Add Post" button below the last post field
- Delete: Click the "×" button in the top-right corner of each post field
Step 4: Adjust Post Count
Threads must contain at least 2 posts and at most 5 posts.
Post Count Guidelines:
- 2-3 posts: Ideal for short stories or information sharing
- 4-5 posts: Suitable for detailed explanations or tutorials
WARNING
Post Count Limit Threads require at least 2 posts. For single posts, create a regular post instead.
Step 5: Select Schedule Time
Select the start time for posting the entire thread.
Click the date field
- Select a date from the calendar
- Cannot select dates before today
Click the time field
- Select time using the time picker
- 24-hour format
- Must be at least 5 minutes in the future
INFO
Thread Posting Interval Each post in a thread is posted consecutively in order. Post intervals cannot be configured, but all posts are usually published within seconds.
Step 6: Review and Schedule
Before scheduling, verify:
Review Checklist:
- ✅ Thread contains 2-5 posts
- ✅ All post content is correct
- ✅ Each post is within 300 characters
- ✅ Post order is correct
- ✅ Schedule time is correct (at least 5 minutes ahead)
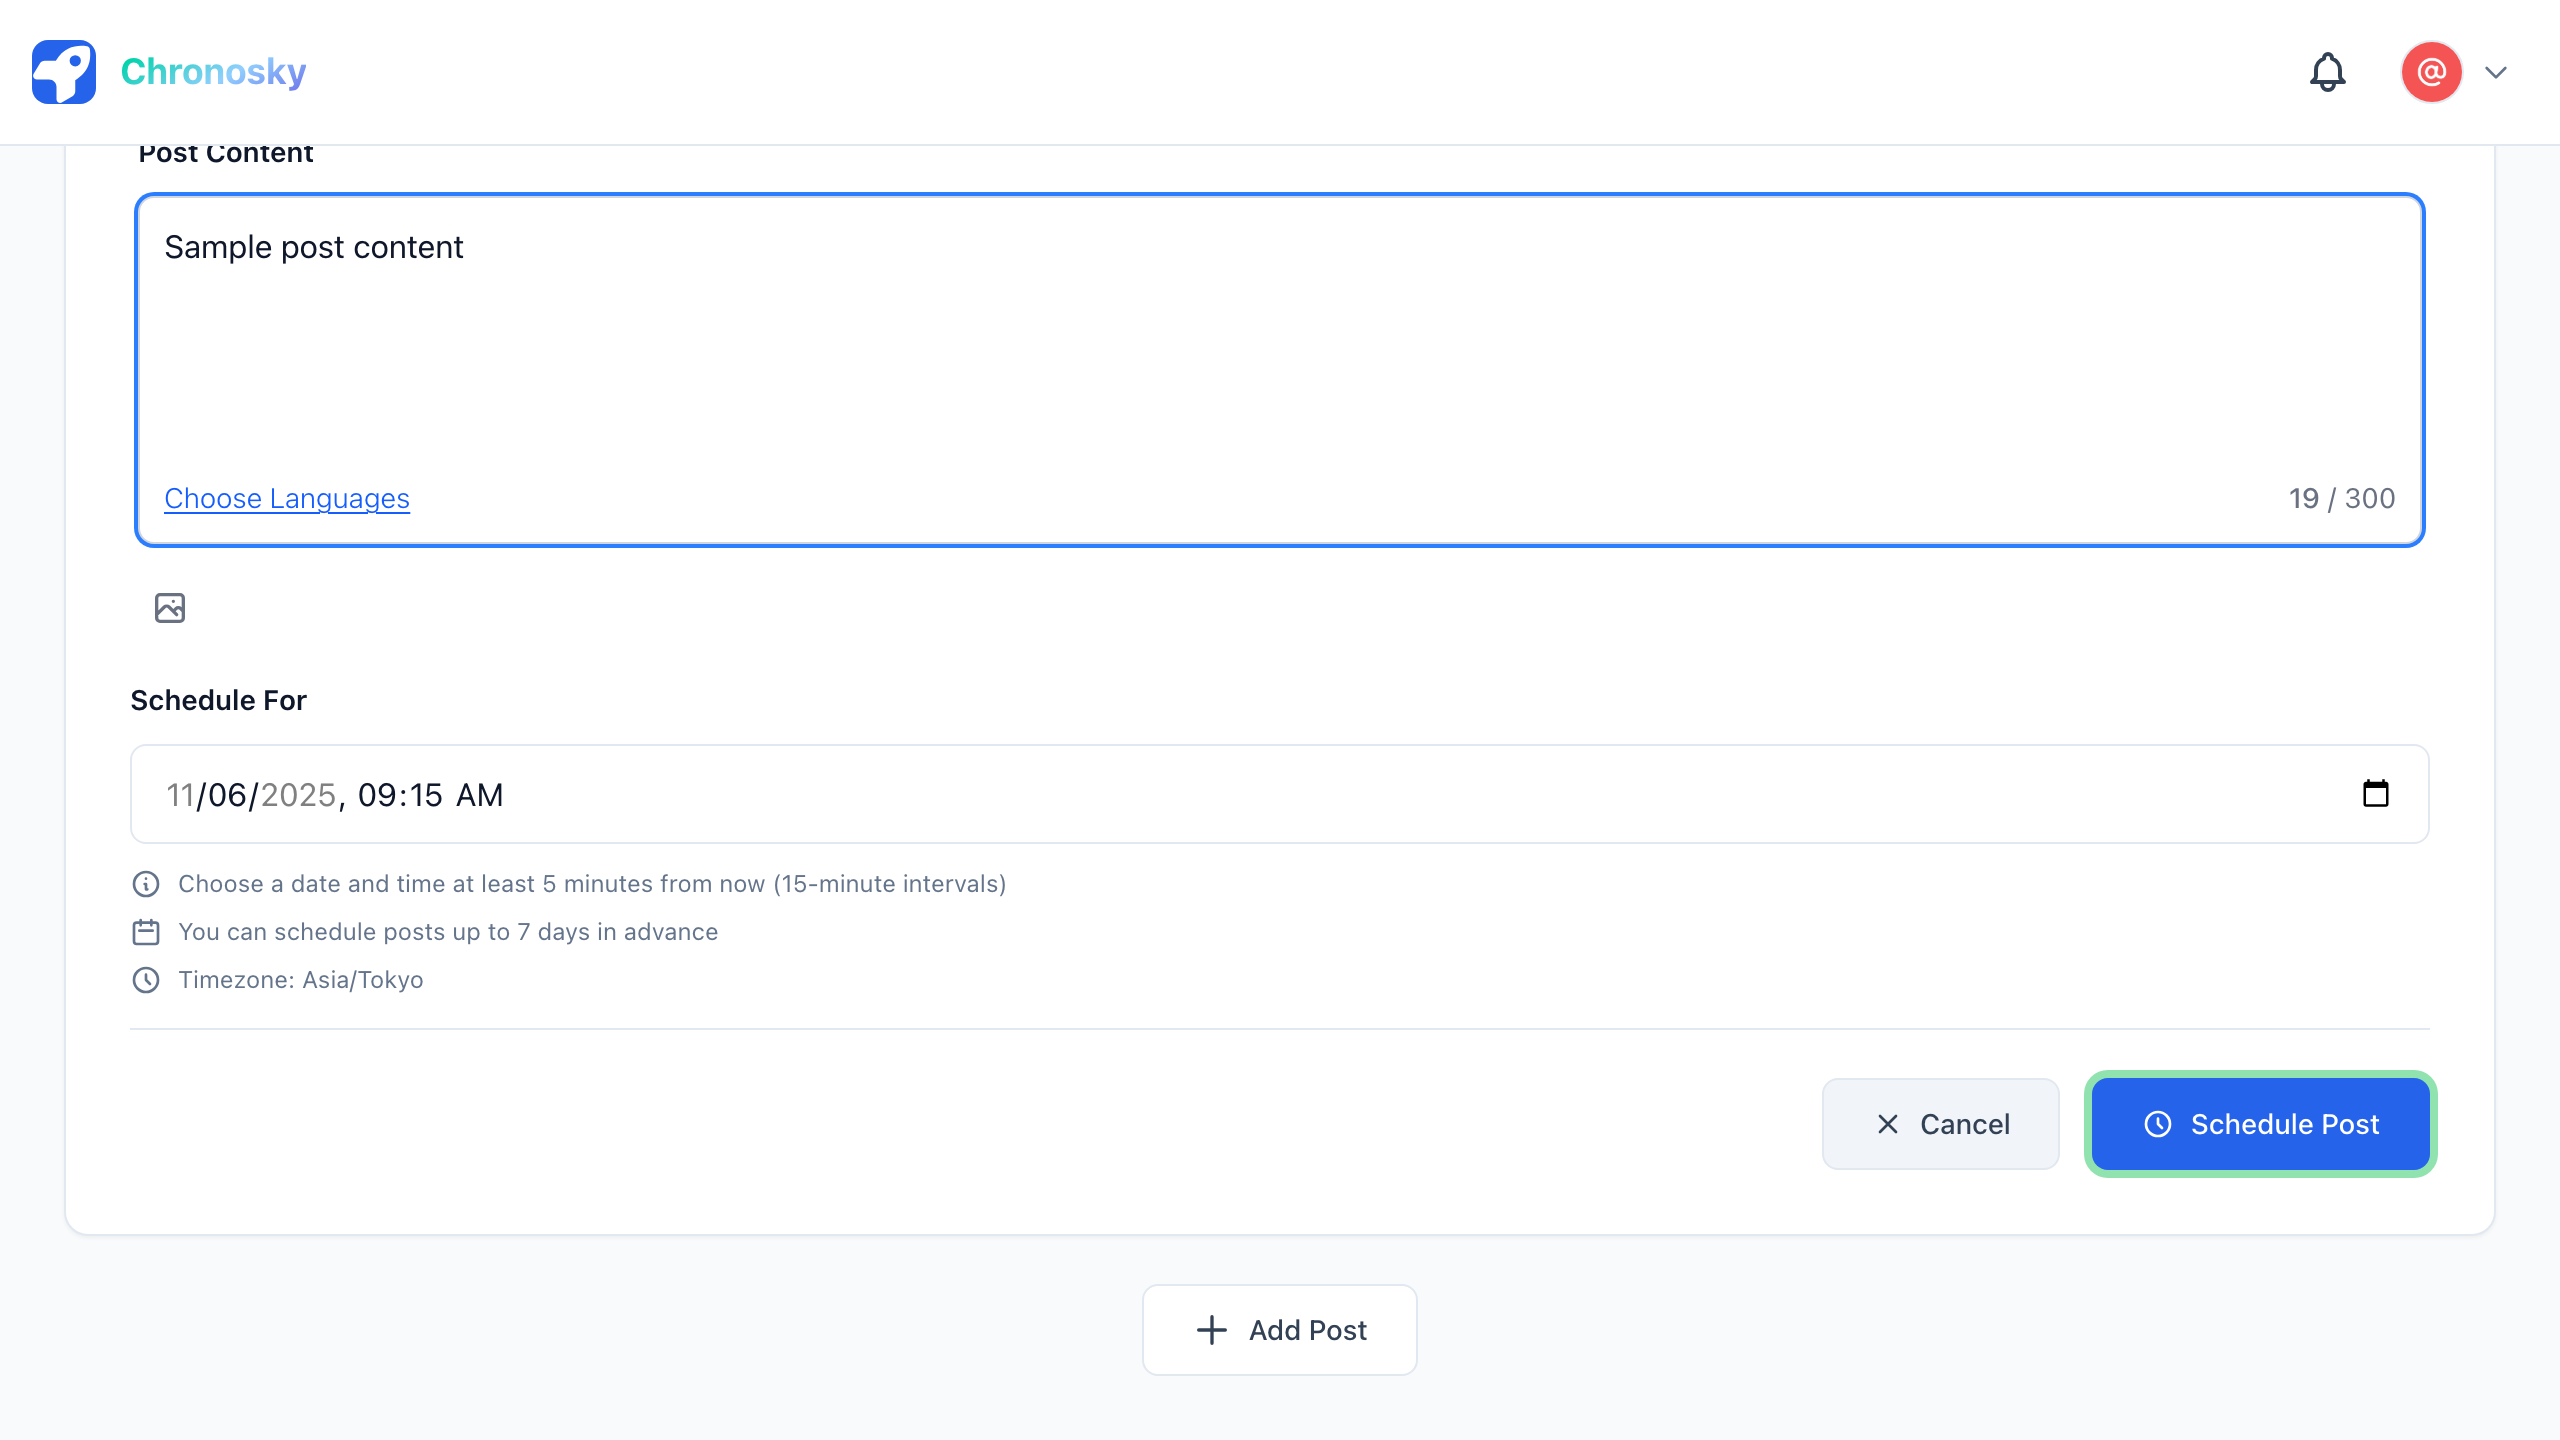
Click the "Schedule Thread" button to schedule your thread.
Thread States
After scheduling, threads go through the following states:
State Types
| State | Description |
|---|---|
| Pending | Waiting for scheduled time |
| Processing | Posting to Bluesky |
| Published | Successfully posted |
| Failed | Error occurred |
WARNING
Thread Consistency Threads are either all successful or all fail. Partial posting does not occur.
Thread Management
Viewing Thread Posts
You can view scheduled threads in the dashboard:
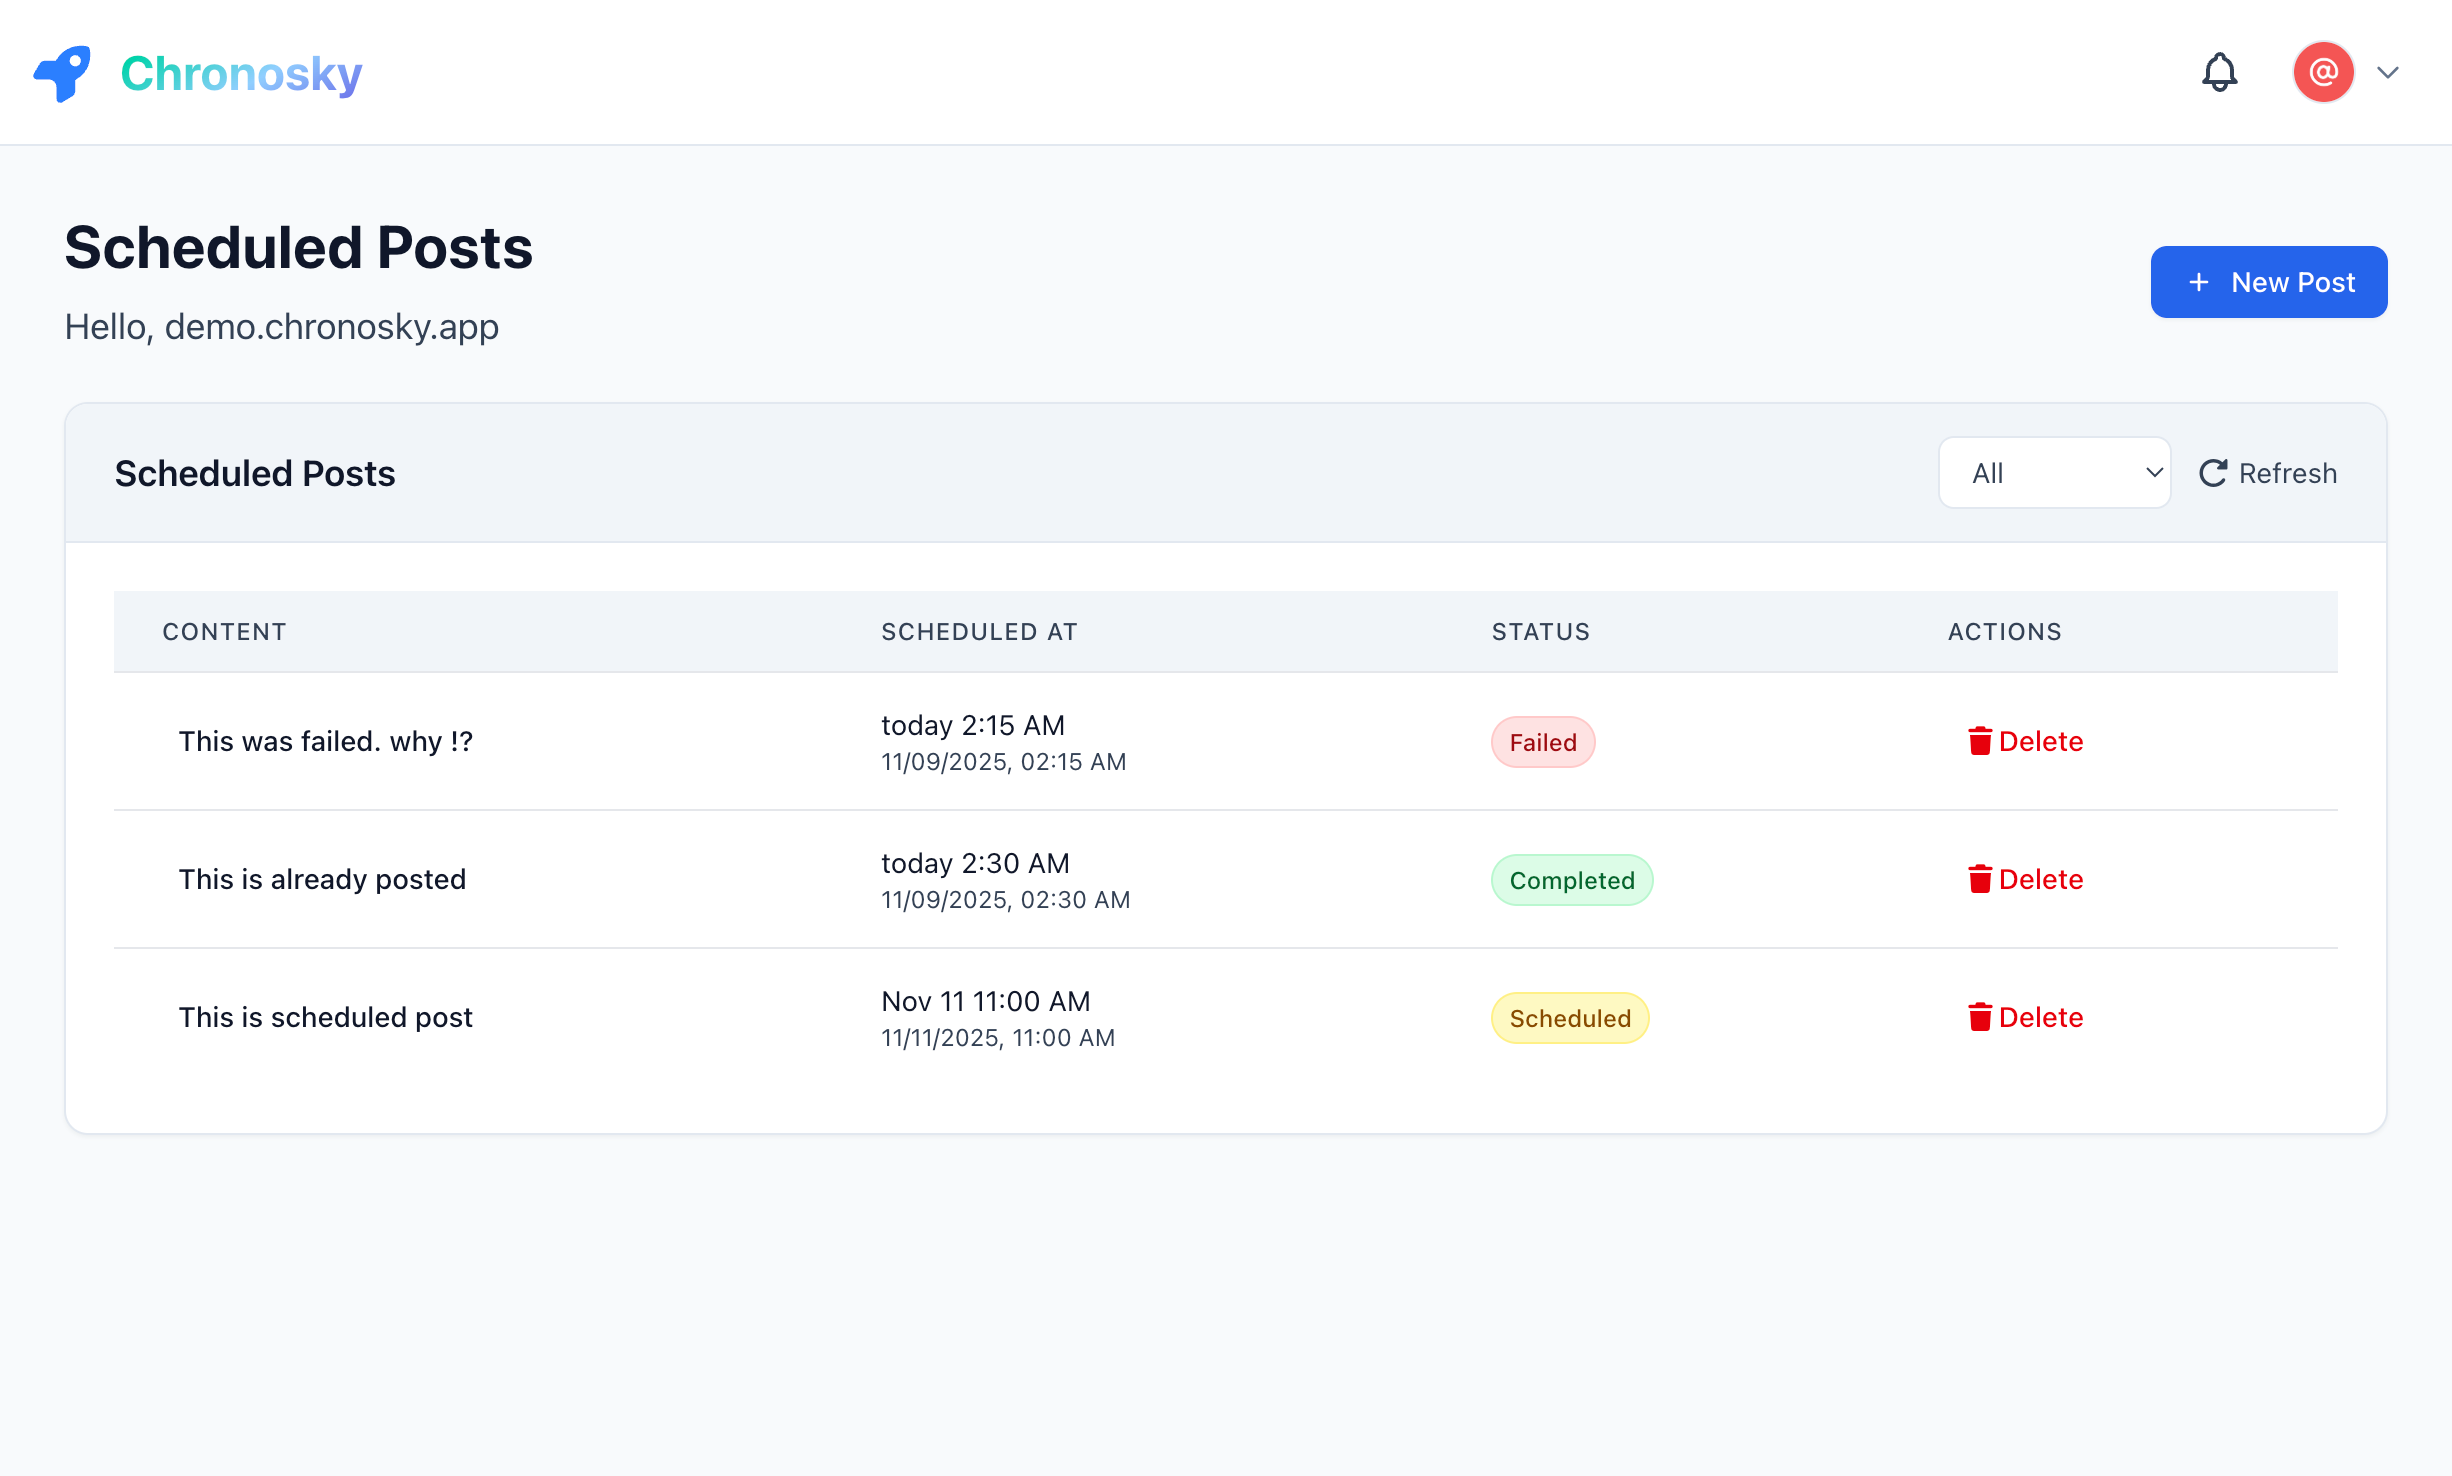
- Pending Tab - Threads waiting to be posted
- Published Tab - Successfully posted threads
- Failed Tab - Threads that encountered errors
Note: You can switch between a "List view" and a "Calendar view" to manage your schedule.
Thread Display:
- Thread posts show a "Thread" badge on the card
- Post count is displayed (e.g., "3 posts")
- Click the thread card to view all posts
Editing Threads
You can edit scheduled threads before they are posted:
- Find the thread in the Pending Tab
- Click the thread card to view details
- Click the "Edit" button
- Modify post content
- Click "Save Changes"
WARNING
Edit Limitations
- Cannot edit within 2 minutes of posting time
- Cannot edit already posted threads
Deleting Threads
To delete an entire thread:
- Click the thread card
- Click the "Delete" button (usually red)
- Confirm deletion in the dialog
DANGER
Deletion Cannot Be Undone Deleted threads cannot be restored. Always confirm before deleting.
Deleting a thread will delete all posts in the thread at once.
Troubleshooting
Common Issues
Thread Not Publishing
Symptoms:
- Thread remains "Pending" and doesn't post after scheduled time
- No error message displayed
Solutions:
- Check scheduler authentication
- Go to Settings → Scheduler
- Check for "Active" status
- Re-authenticate if expired

- Check scheduler status
- Dashboard → View system status
- Green = Normal, Red = Problem
Partial Thread Not Publishing
Symptoms:
- Only the first post in the thread is published
- Remaining posts are not published
Explanation:
Chronosky's thread posting ensures all posts succeed or all fail. Partial posting does not occur.
Check:
- Check the "Failed" tab in the dashboard
- Check error message
Character Count Error
Symptoms:
- "Character count exceeds 300 characters" error
- Using emojis or special characters
Explanation:
Some characters (emojis, certain language characters) count as multiple characters in Bluesky's system.
Solutions:
- Check character counter for each post
- Reduce number of emojis
- Simplify text
Cannot Create Thread
Symptoms:
- "Failed to create thread" error
- Thread not displayed in dashboard
Common Causes:
- Network connection issues
- Server temporarily unavailable
- Browser session expired
Solutions:
Refresh the page
- Reload browser
- Re-login if necessary
Check network connection
- Ensure stable internet connection
- Try different network if possible
Clear browser cache
- Clear cookies and cache
- Re-login
Contact support
- If problem persists
- Report at GitHub Issues
Best Practices
Content Planning
Draft offline
- Create in text editor beforehand
- Review content before scheduling
- Save for future use
Post structure
- Make each post independent
- Number posts to show progress (e.g., 1/3, 2/3, 3/3)
- Include conclusion or summary in last post
Readability
- Keep each post short and concise
- Use line breaks for readability
- Use emojis moderately
Thread Posting Tips
Storytelling
- Introduction, body, conclusion structure
- Engaging first post to capture interest
- Memorable final post
Information Splitting
- One idea per post
- Split long lists across multiple posts
- Emphasize important points
Engagement
- Ask questions in the last post
- Use hashtags for discoverability
- Mention relevant users
Scheduling Tips
Timing Strategy
- Schedule during peak times (8-9 AM, 12-1 PM, 8-10 PM)
- Try different times for weekends vs weekdays
- Consider when your followers are active
Buffer Time
- Schedule at least 10 minutes ahead
- Allow time for final edits
Content Calendar
- Plan threads weekly
- Consistent posting schedule
- Decide themes and topics in advance
Next Steps
Now that you've learned how to create thread posts, explore more features:
- Images - Add images to threads
- Link Cards - Include link previews
- Text Posts - Learn about basic posts
FAQ
Q: Can I configure the post interval for threads?
A: Currently, thread posts are automatically published consecutively.
Q: Can I delete posts from the middle of a thread?
A: You can delete the entire thread, or edit to remove posts. However, already posted threads cannot be edited.
Q: Can I add images to threads?
A: Yes, you can add up to 4 images per post. See Images Guide for details.
Q: Can I duplicate threads?
A: Yes, click the "Duplicate" button on the thread detail page to create a thread with the same content.