Quick Start
Get started with Chronosky in 5 minutes! This guide will walk you through creating your first scheduled post.
Prerequisites
Before you begin, make sure you have:
- A Bluesky account
- Access to the Chronosky web app at chronosky.app
Step 1: Sign In with Bluesky
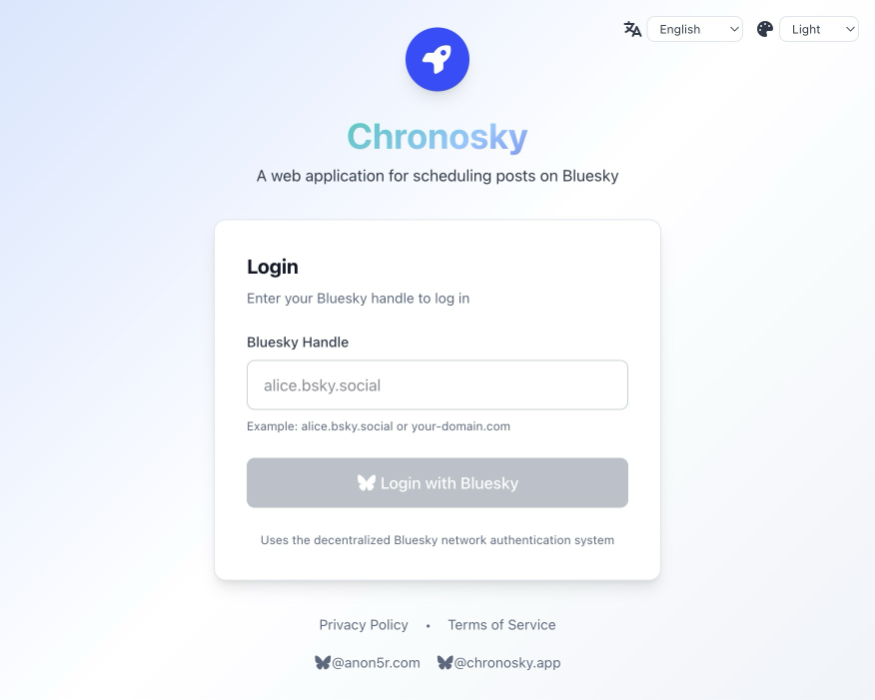
- Visit chronosky.app
- Click the login button in the top-right to go to the login screen
- Click the "Sign in with Bluesky" button
- Enter your Bluesky handle (e.g.,
username.bsky.social) - Authorize Chronosky to access your account
INFO
🛡️ Secure Authentication Chronosky uses Bluesky's official authentication method for secure authentication. Your Bluesky password is never shared with Chronosky. All authentication happens directly with Bluesky.
Step 2: Authorize Scheduler Access
After signing in, you'll be prompted to authorize the scheduler:

- Go to Settings → Scheduler
- Click "Authorize Scheduler"

- Complete the authentication process
WARNING
Why Two Authentication Steps? Chronosky uses different authentication:
- Web Authentication: For account login and browsing in your browser, creating scheduled posts
- Scheduler Authentication: For executing scheduled posts asynchronously
This separation ensures maximum security and allows you to revoke only the scheduler's permissions independently.
Step 3: Create Your First Post
Now you're ready to schedule a post!
Simple Text Post
- Click the "New Post" button
- Enter your post content:
Hello Bluesky! 🦋
This is my first scheduled post using Chronosky!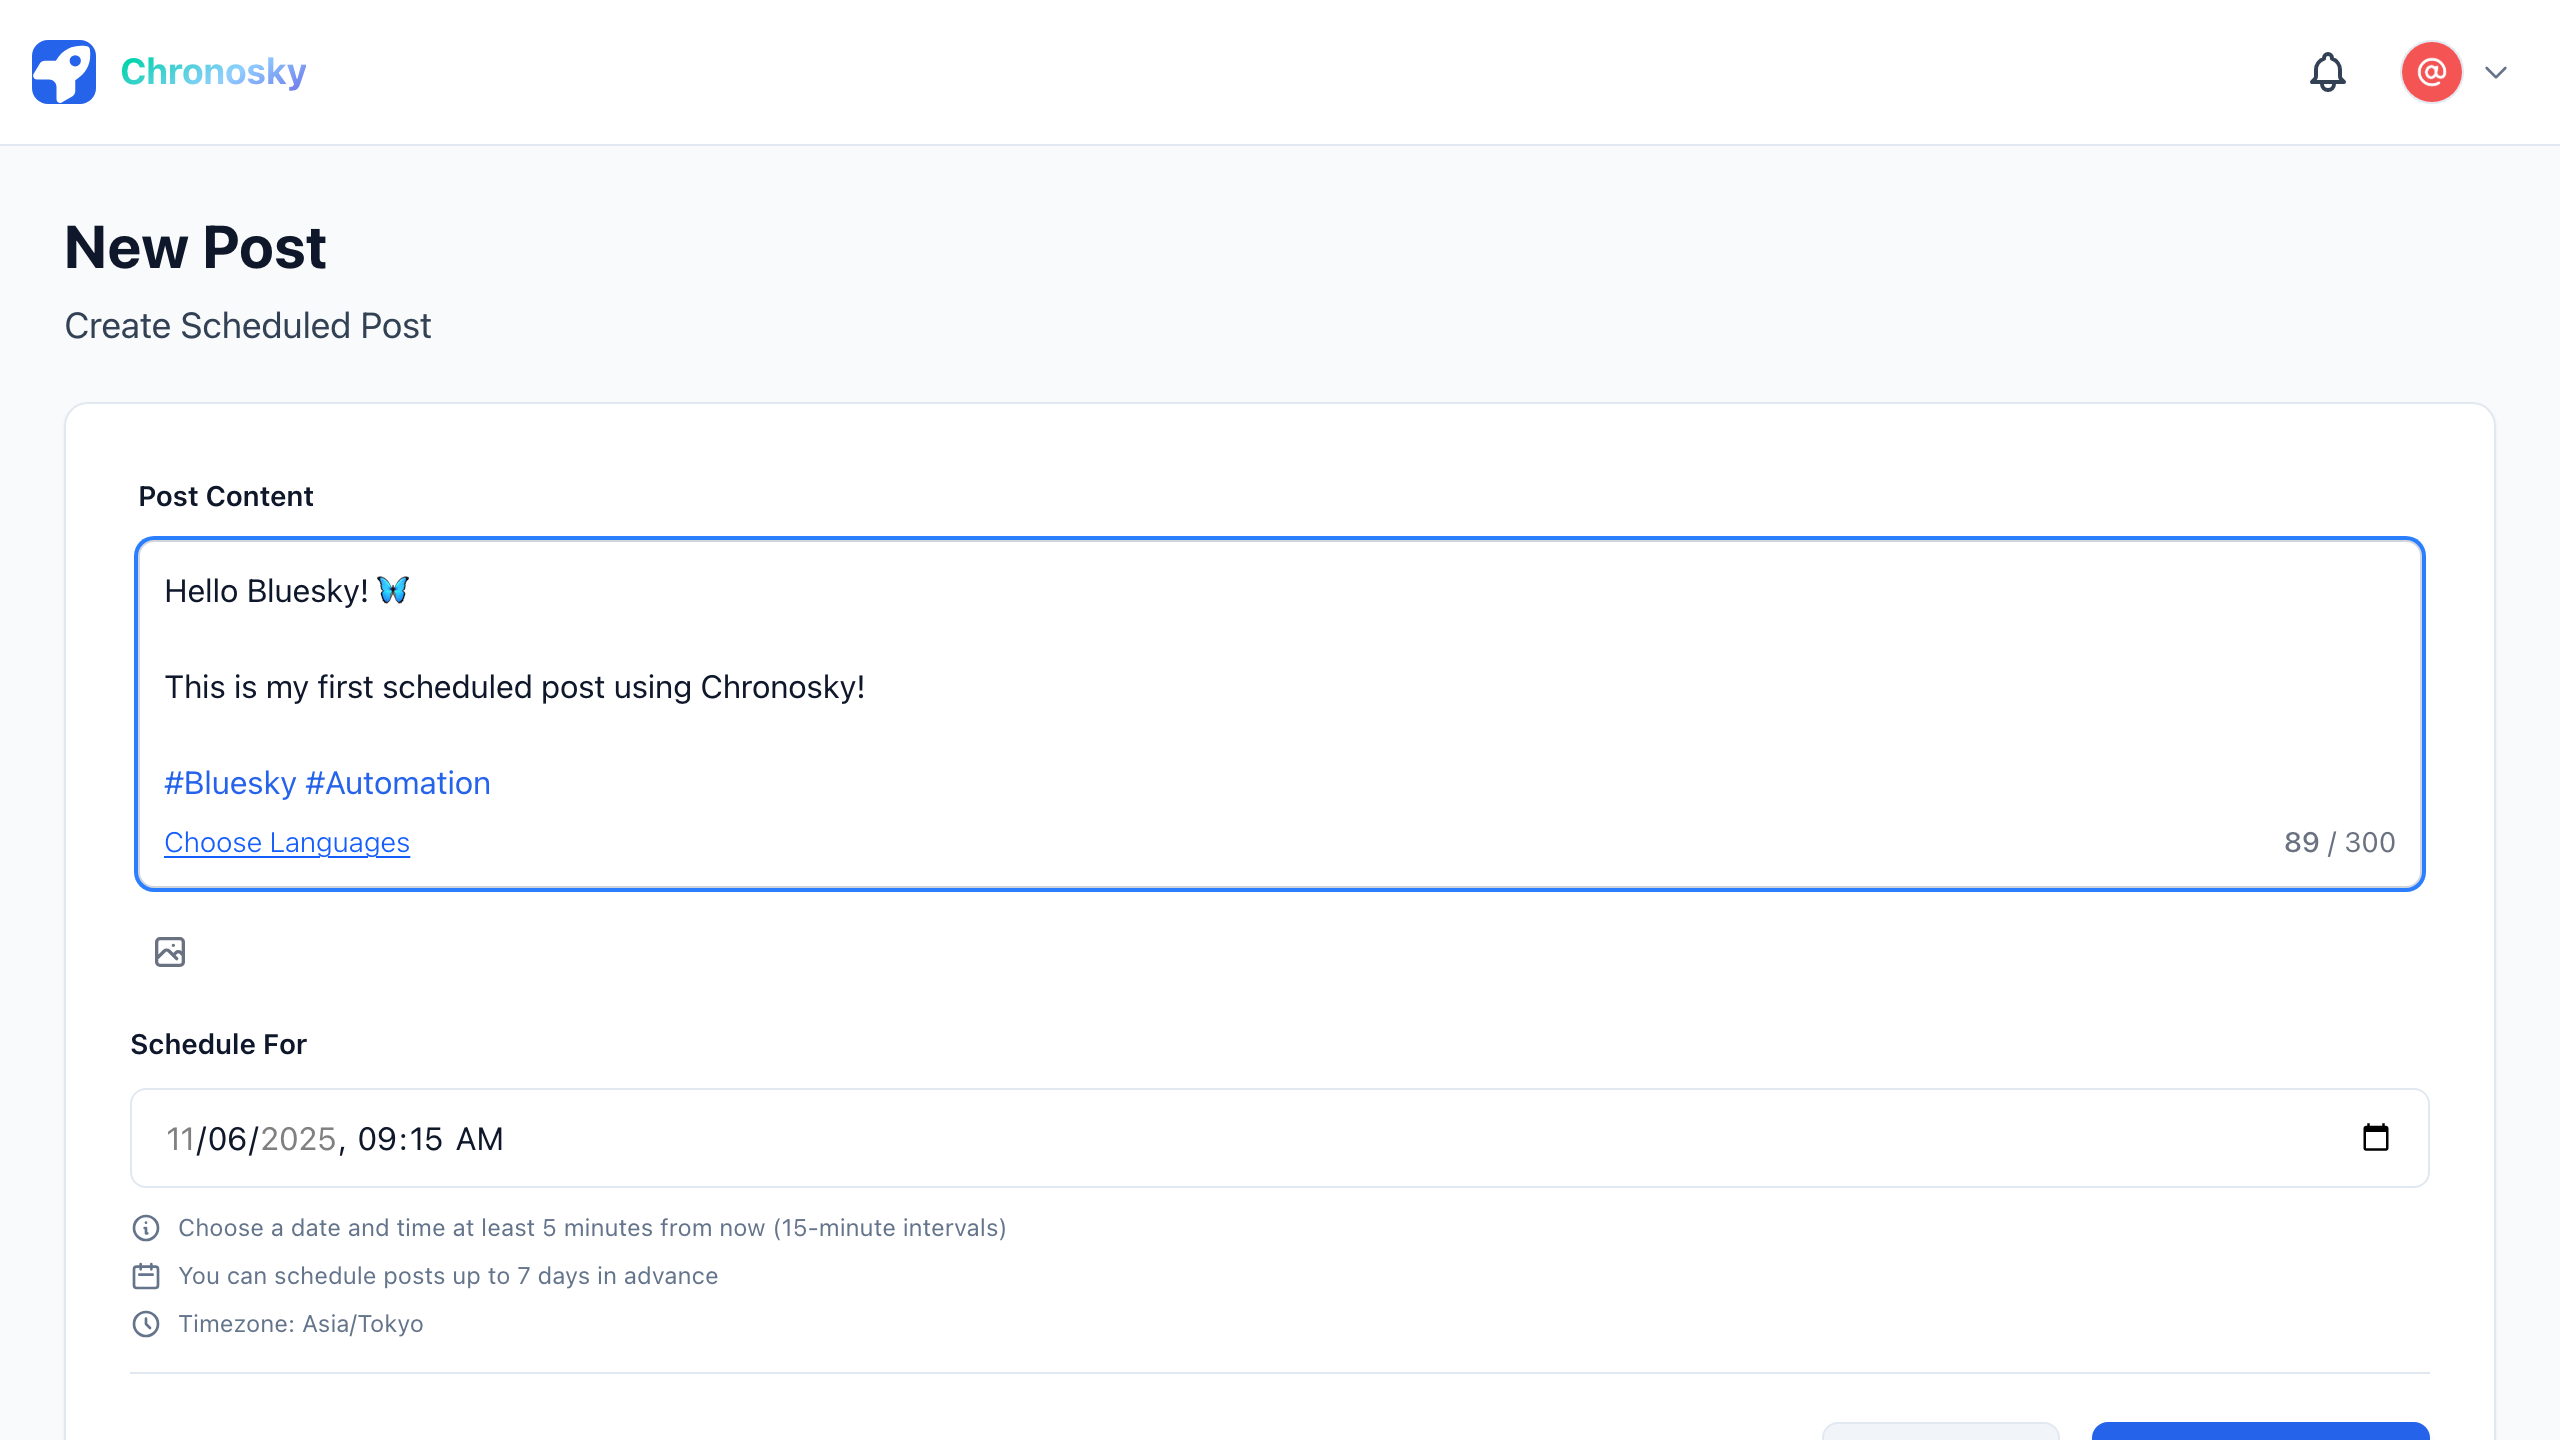
- Select the date and time for the post
- Click "Schedule Post"
TIP
Scheduling Times Posts must be scheduled at least 5 minutes in the future. The scheduler checks for pending posts every minute.
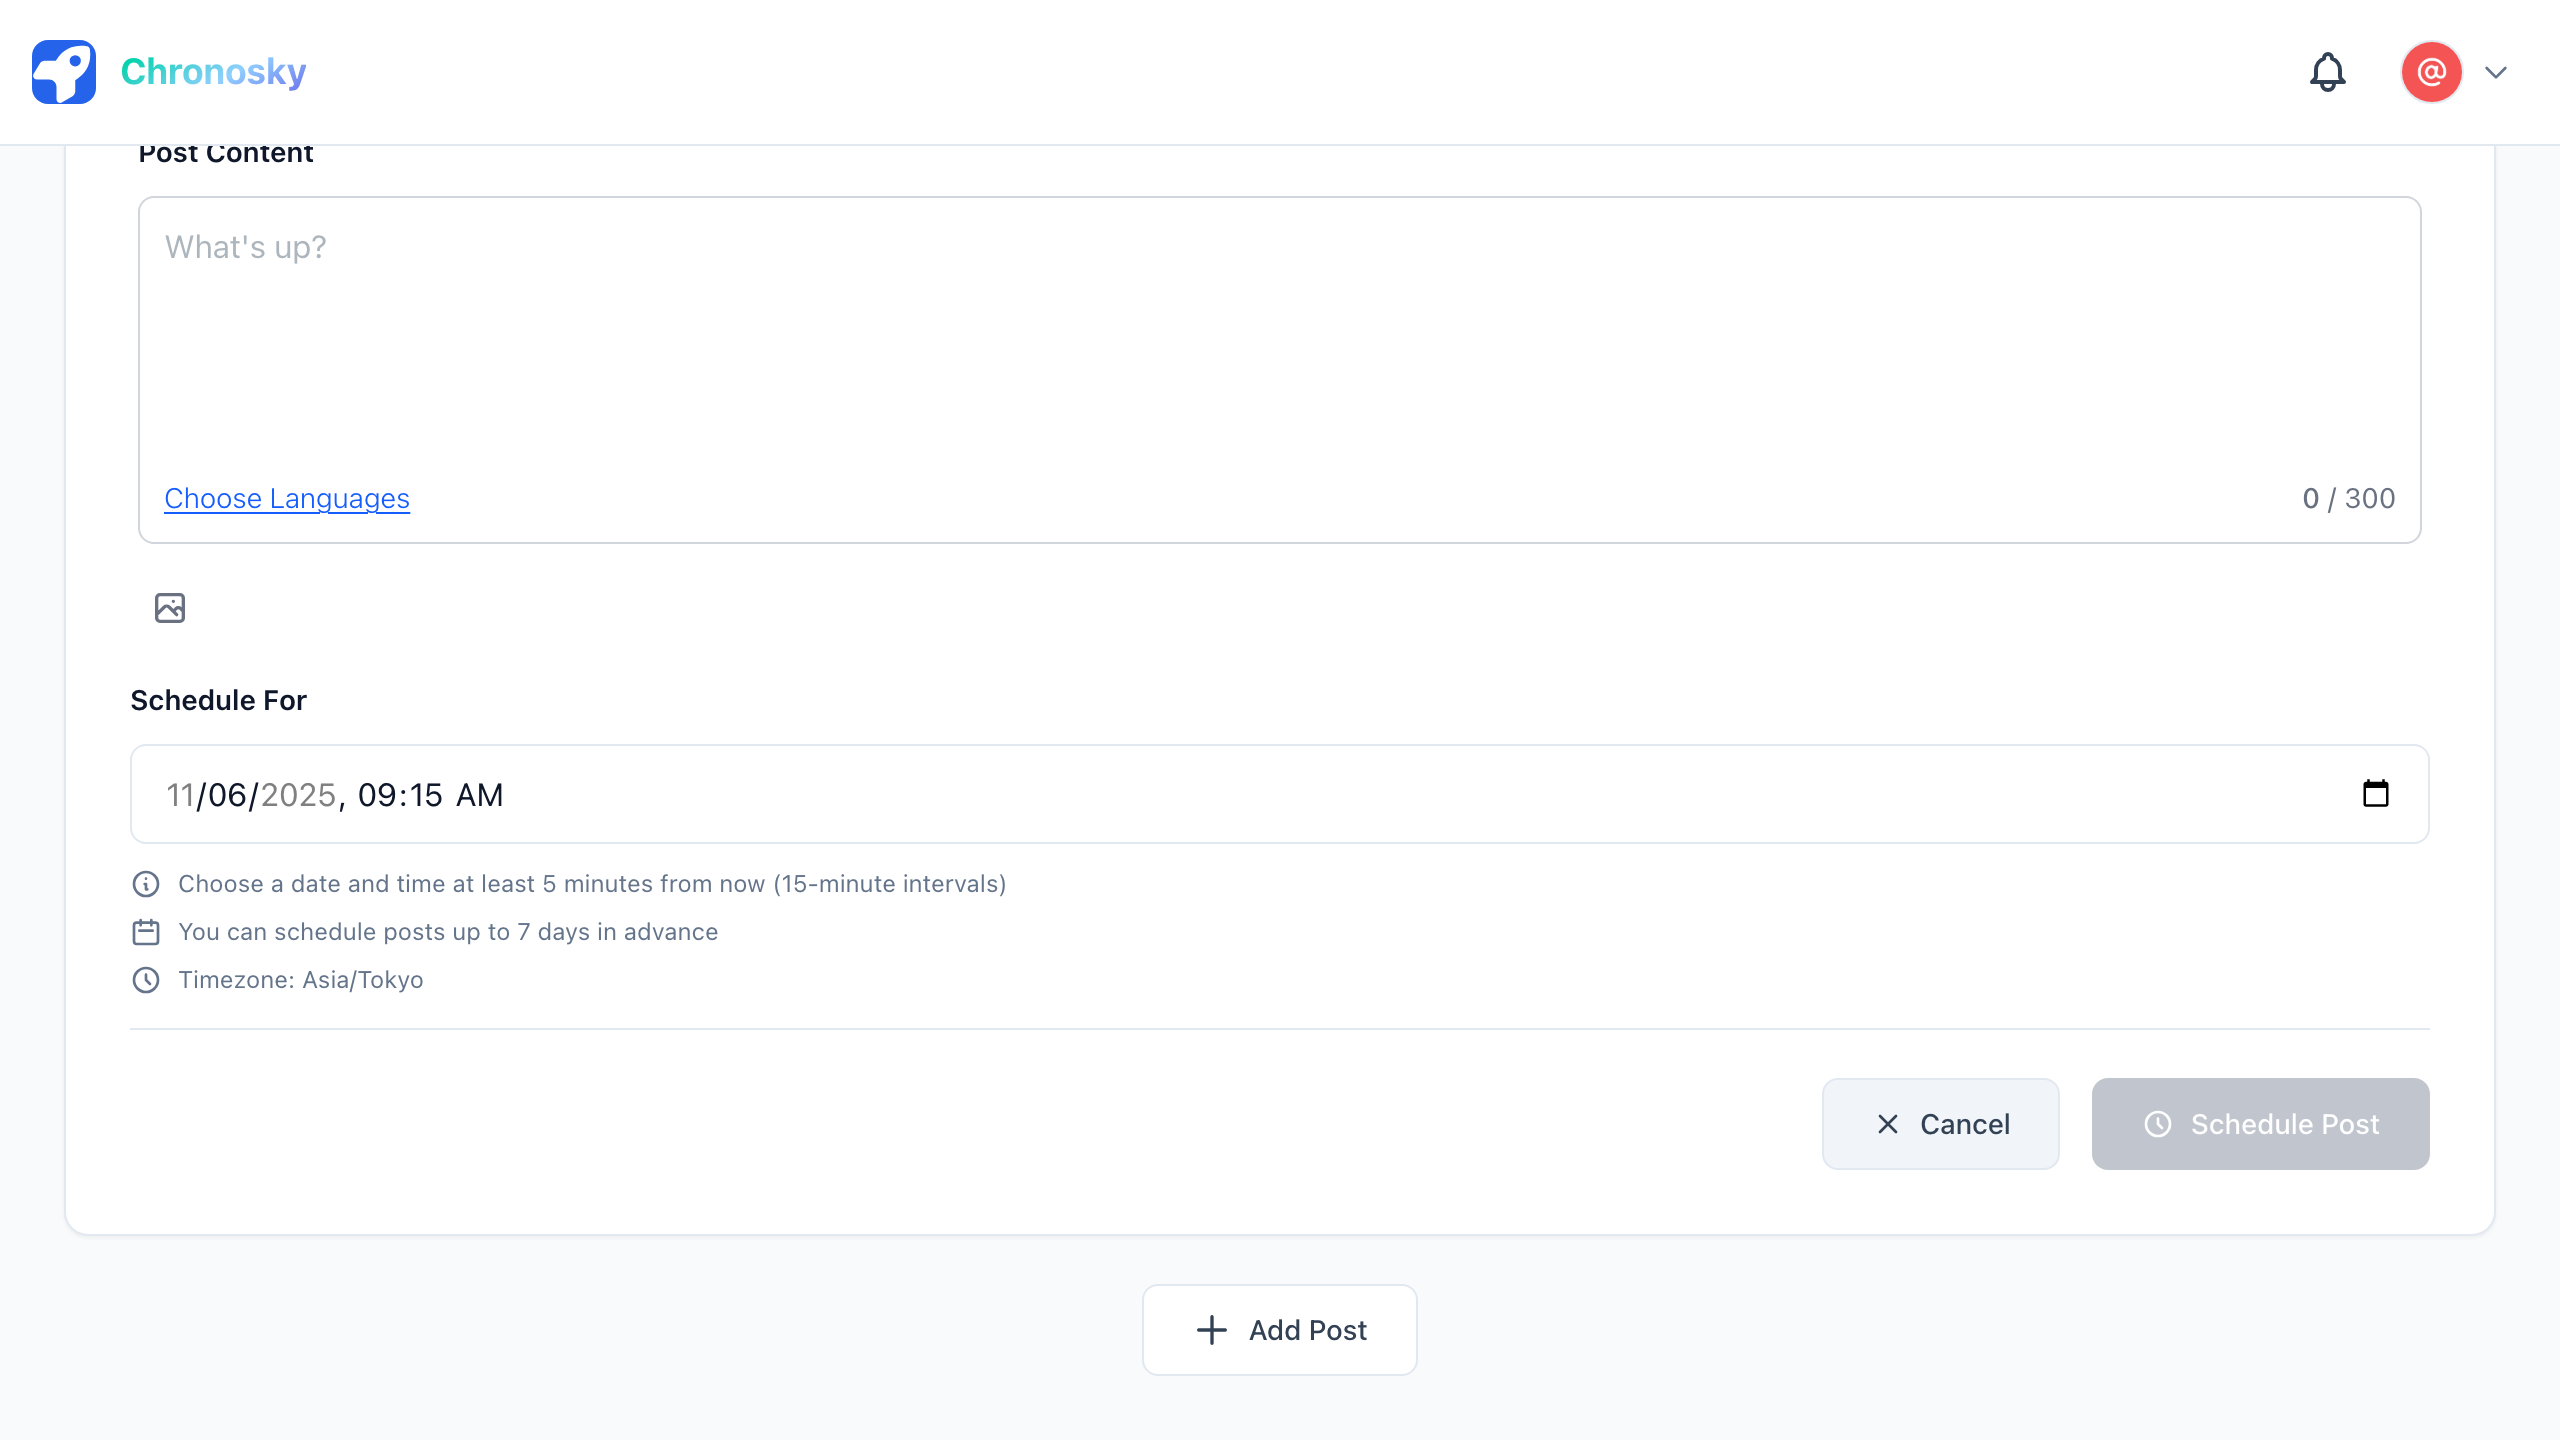
With an Image
- Click "New Post"
- Enter your post content
- Click the image icon or drag & drop an image
- Add alt text (optional but recommended for accessibility)
- Select the scheduled time
- Click "Schedule Post"
- Supported image formats: JPEG, PNG, WebP, GIF
- Maximum size: 2MB per image (Bluesky limit)
- Maximum images: 4 per post
Step 4: View Your Scheduled Posts
All your scheduled posts appear in the dashboard:

- Pending: Posts waiting to be published
- Published: Posts that have been successfully posted
- Failed: Posts that encountered errors
Note: You can switch between a "List view" and a "Calendar view" to manage your schedule.
Click on any post to:
- View details
- Edit (before execution)
- Delete
Next Steps
Now that you've created your first scheduled post, explore more features:
Create a Thread
Learn how to schedule multi-post threads:
Advanced Features
- Link Cards - Automatic link preview generation
- Hashtags & Mentions - Automatic parsing
Troubleshooting
Post Not Publishing
If your post doesn't publish at the scheduled time:
- Check scheduler authorization: Settings → Scheduler
- Check language settings: Settings → Language

- Check error message: View post details for error information
Scheduler Token Expired
If you see "Scheduler token expired":
- Go to Settings → Scheduler
- Click "Revoke & Re-authorize"
- Complete the OAuth flow again
WARNING
Token Expiration Scheduler tokens expire after 180 days. You'll receive a warning 7 days before expiration.
Need Help?
Congratulations! 🎉
You've successfully created your first scheduled post with Chronosky. Explore more features and plan your content ahead of time!